Remodelled emerald cut emerald dress ring

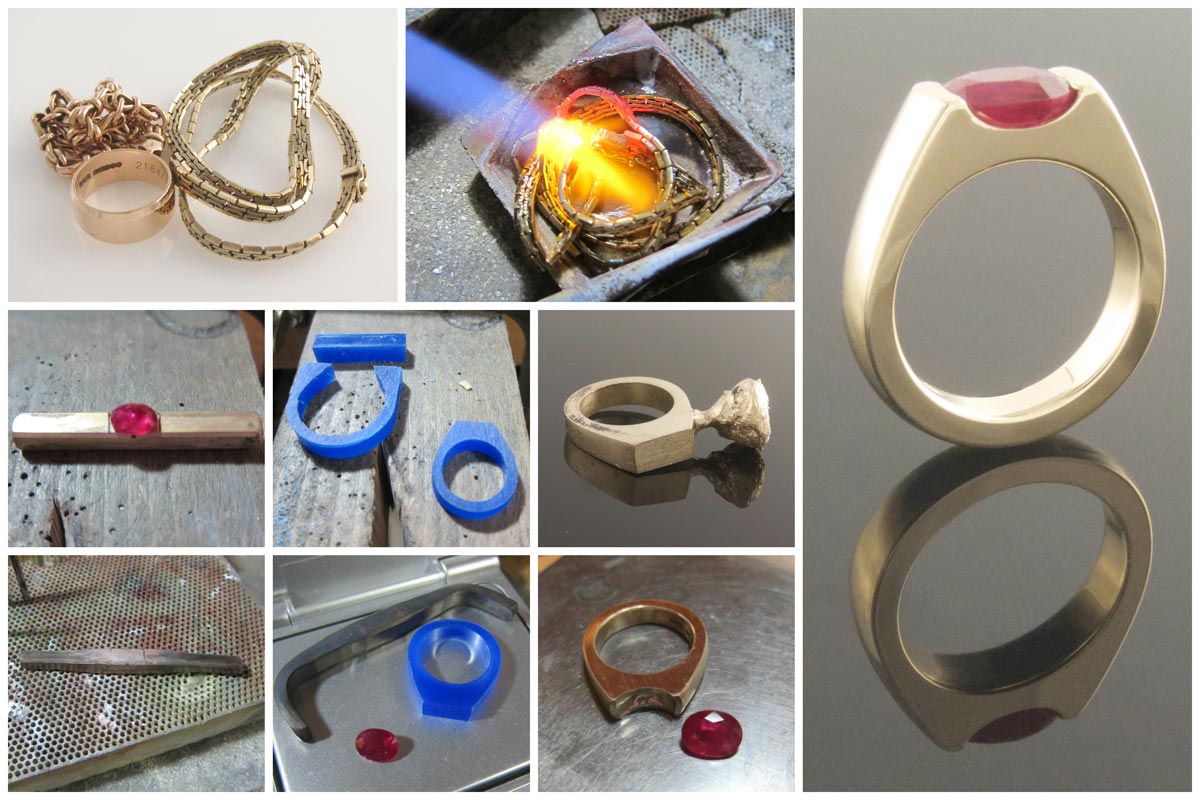
Jessica and I met at a fair and she subsequently dropped me a line to see about remodelling a "little" antique emerald ring that had belonged to her grandmother. When we met up the emerald was scratched and chipped from years of continuous wear so the first thing I suggested before we settled on any design was to send the stone off for repolishing to see just what we were dealing with.

Original 18ct and platinum ring with chipped and scratched emerald

Original 18ct and platinum ring with chipped and scratched emerald

My hunch was right and what we received back was a truly stunning emerald cut emerald with great life and sparkle as well as a really beautiful colour. Seeing this newly transformed stone Jessica didn't want to stray too far from the original design, however it was important to her to get rid of the gappiness between the accent diamonds and to create a refined, low mount.

I did up some drawings of what we'd discussed and took them to be transferred on to a CAD file. Renders were exchanged and with a little tweaking the design was completed and ready to be cut directly from wax. This model was then cast in 18ct white gold, assayed and cleaned up in readiness for setting.

Above are CAD renders and pics of the actual 18ct casting before it's cleaned back

Above are CAD renders and pics of the actual 18ct casting before it's cleaned back

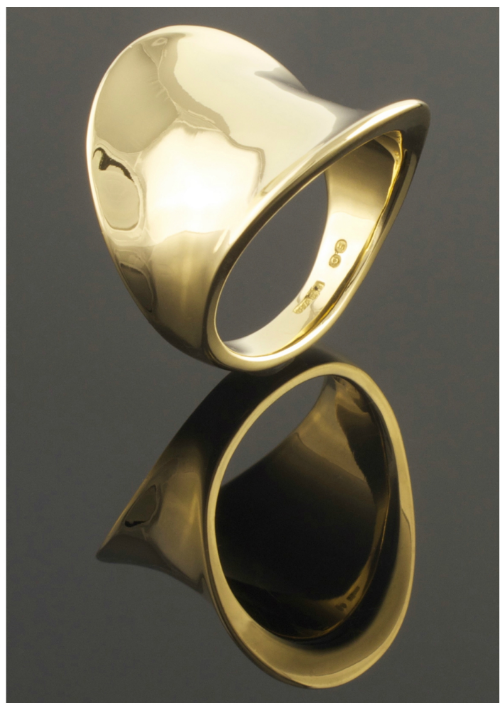
The finished emerald ring is similar to the original, but with a weightier shank more suited to a modern lifestyle and that gappiness I mentioned has been banished by employing shared claw settings on the shoulders. The shank is broader and heavier at the back where it will receive most wear, but tapers elegantly towards the setting creating a refined look and the once jaded emerald has been repolished and reinvigorated making this little stone the belle of the dress ring ball.

18ct white gold emerald and diamond ring

18ct white gold emerald and diamond ring

If you have project you'd like to discuss please feel free to drop me a line at evadorney@gmail.com or give me a tinkle on 0877956321.

Meantime if you liked this blog feel free to share OR press the little icon below to be showered with hearts!

Natural ruby engagement ring from recycled gold

I have been very remiss in my posts here lately, but rather than start from where I left off I intend to jump forward in time and tell you about a recent engagement ring remodel that is now adorning one happily engaged finger.

Ruby engagement ring remodel

Nuala and Caolan approached me before Christmas to see whether I could take some of their old gold and turn it into their wedding rings and also source them a ruby for Nuala's engagement ring. Happily they were in no rush so I suggested I would source the stone in Germany while at the Inhorgenta trade fair in February - the selection of stones there is second to none and as it was important to them that the stone be ethically sourced this allowed for a more vigorous questioning of suppliers!

Initially I was tasked with finding a deep red ruby similar in size and shape to that of my own emerald cut diamond engagement ring, however finding said stone proved more difficult than imagined and so we widened the search to include larger oval rubies too! There was a bit of toing and froing before we settled on a real beauty from Tanzania weighing in at a hefty 1.82cts.

A spot of wax carving

A spot of wax carving

The change in shape and size of stone meant a slight rejig of the overall ring design making it curvy rather than angular and indeed quite a bit heavier than originally anticipated. When I got back to the workshop I set about melting enough metal to make the ring and started to forge out the shape using the rolling mills.

However, as is sometimes the case with remelted metal, the resulting nugget was incredibly hard and unbending so having enlisted Dave's help in a vain attempt to bend it I had no choice but to reconsider how it would be made and start carving a wax model from which to cast the ring instead.

The trick to creating a symmetrical design in wax is to lay out guidelines before removing any wax and thereafter to reestablish the guidelines as you go. Wax is much faster to work than metal so it is very easy to go too far and remove too much material, but I'd recommend giving it a whirl if you're at all crafty.

Ruby solitaire engagement ring

Ruby solitaire engagement ring

The blue wax master was then sprued before undergoing a lost wax casting process during which the old gold was melted and poured into the ring shaped cavity left by burning out the wax. It's always necessary to use more metal than required and you can see a big nugget of additional metal on the side of the ring which has since become a matching wedding band.

There followed a spot of assaying, sprue removal, emerying and polishing before the ruby was ultimately set across the finger to create a lovely contemporary ruby engagement ring.

If you have a project you'd like to explore please feel free to drop me a line here or pick up the phone and give me a bell on 0877956321.


18ct yelllow gold pinkie ring

18ct yellow gold pinkie ring carved from wax - Eva Dorney Goldsmith

Wax modelling is fast and accessible. It feels more sculptural in nature than forging and forming metal by hand. This commission involved designing and making an 18ct yellow gold saddle shaped pinkie ring that cleanly blended into a comfortably narrow shank at the back. It would have been possible to make a ring like this using anti-clastic raising (a technique where metal is hammered on different shaped stakes to bend and form it into beautifully defined curves), but I opted to carve it from wax. If however you'd like to see some beautiful anti-clastic work I'd recommend checking out fellow Irish goldsmith Jessica Poole.

Step by step by painstaking step

Step by step by painstaking step

Ring wax comes in 6 inch long tubes and it's a matter of cutting off a section within which to "find" the ring.  I went for a U shaped tube to accommodate the height of the ring and removed a 20mm wide section.

Working in wax varies from metal in that a few stokes of the file will remove a large amount of wax, but a relatively small amount of metal, making it very quick to manipulate, but also dangerously easy to remove too much material. As a result it's not so much a matter of "finding" that ring, rather of careful laying out and marking! All those little lines help to maintain symmetry and prevent accidents.

Once marked out, excess wax is sawed away before filing the rough shape of the ring - a messy business as you can see. Then, when the outline shape is good, it is refined and weighed and refined again until it is as light as possible.

A wax model weighs one tenth of the finished silver ring and about one fifteenth of 18ct gold - with such an expensive raw material every 0.1g  counts!

A wax model weighs one tenth of the finished silver ring and about one fifteenth of 18ct gold - with such an expensive raw material every 0.1g  counts!

When the model is finished and emeried to a nice polish it can be sent off for casting in what ever metal desired. In this case my first wax was too small so I had it cast in silver and had the larger one cast in 18ct. The models come back from the casters with this lovely low matt finish as you can see - too pretty to pass up a quick photo, but still in need of a good polish.

If you liked this post then try hitting the little grey heart to the right. You won't be disappointed!